All Service, Maintenance, and Troubleshooting Should Be Completed by Experienced Personnel Wearing Appropriate Safety Gear
 Rotary Head Lubrication Maintenance
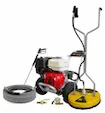
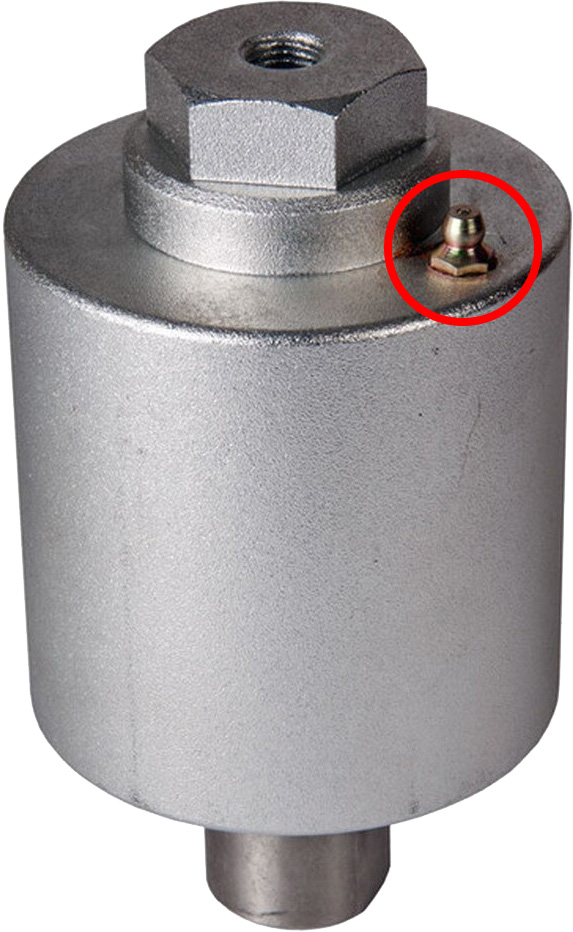
The surface cleaner has a grease zerk on the rotary head. This is the aluminum cylindrical component in the center of the surface cleaner cover.
- Grease: Grease needs to be applied to the rotary head after each use and before storing the machine. This will allow the grease to coat the bearings and force the water out.
- Always clean the grease fitting prior to greasing the rotary head.
- Apply only 2-3 pumps from your grease gun. Over greasing will cause the spray bar to spin slowly and not clean correctly.
- Grease Type: General Purpose Grease or Marine Grease
Hose, Gun-to-Rotary Head
- When assembling your new surface cleaner, hand tighten the hose of the unit into the rotary head before using a wrench to tighten it down. This will prevent cross threading.
Surface Cleaner Warranty Information
- The surface cleaner warranty is valid for 1 year from the date of purchase.
- This warranty will cover any defects in material or workmanship under normal use during the warranty period.
- This warranty does not cover any damage, deterioration, or malfunction resulting from any alteration, modification, improper use, or unreasonable use of the machine.
- This warranty does not cover rotary head bearings due to bent spray bars. An out of balance spray bar will cause excessive vibration and excessive load on the bearings.
Surface Cleaner Tips and Preventative Maintenance
 If your machine is shaking, vibrating or not cleaning uniformly you most likely have a clogged tip which is an extremely common issue. This is due to the orifice size of the tip being very small (about half the diameter of your wand tip) and dirt ingestion into the unit. Common obstructions are o-ring segments from hose couplers, calcium deposits from water spigots, screens from water filters or dirt and sand from well water.
- To check this, connect the surface cleaner to the pressure washer, turn on the water to the pressure washer, but do not start or run the engine.
- Turn the surface cleaner on its side and pull the trigger. You should be getting an even and uniform fan spray from both tips. If you do not see this, you will need to remove and clean the spray tips.
- Do not attempt to remove the tips from the bar without removing the bar first. The tips from the factory are very tight and thread locked in and in most cases you will bend the bar trying to remove the tips.
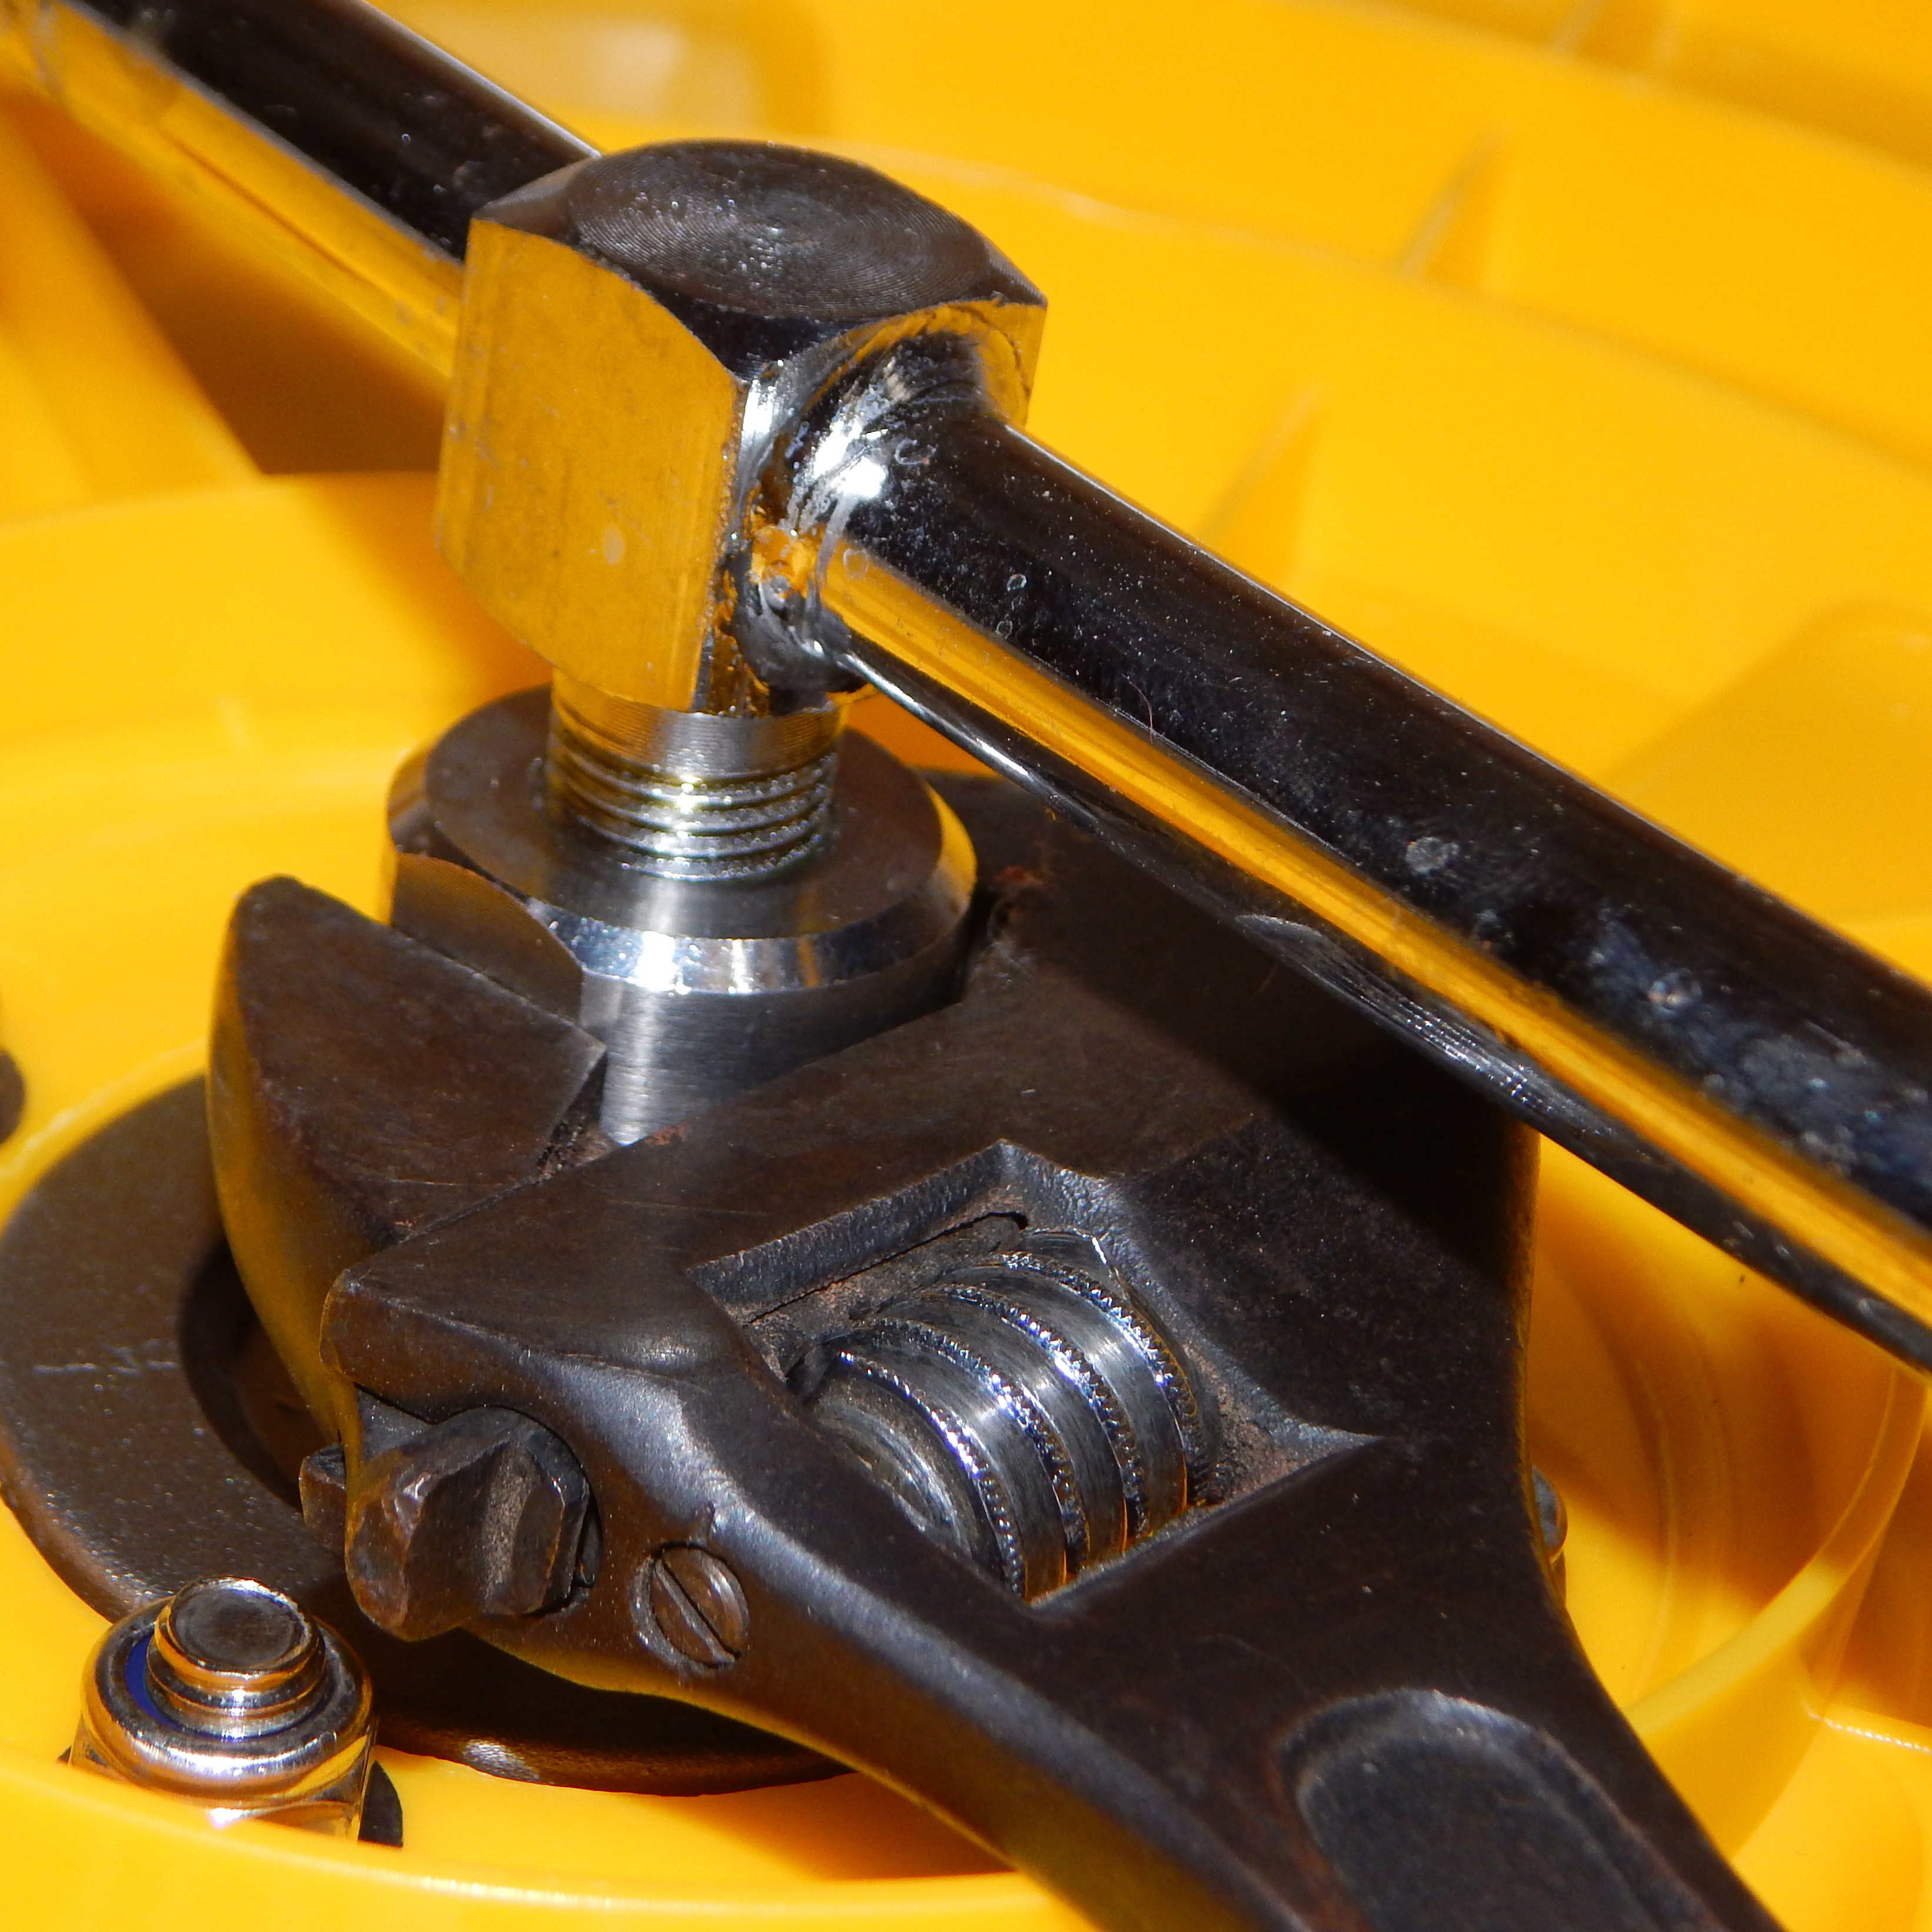
- To remove the bar, put a wrench on the flat spots of the rotary head and a wrench on the flat spots of the center of the spray bar and unscrew the bar from the rotary head.

- Do not use the bar for leverage because it will bend.
- To remove the tips from the bar the first time, put the square end of the bar into a vise or similar and a wrench on the spray tip and unscrew. Due to the thread lock you may need to use heat if it is difficult to unscrew.
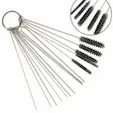
- With a small pick, clear the tips of any debris and flush with water.
- Before installing the spray tips back onto the bar, flush the spray bar with water to remove any debris or material left behind.
- You can now install the spray tips. The spray tips have a line going across the face of the tip and that line needs to be inline with the spray bar in order for the machine to spin and clean properly.
- Before installing the spray bar back onto the rotary head, flush the surface cleaner with water by pulling the trigger and allowing water to flow for a few seconds. You can now reinstall the spray bar.


