


It's quite easy to replace the belt on a Husqvarna FS400 floor saw. We've put this guide together to help you do it yourself.
Remove the Old Belt
-
Raise the machine to its highest position
- Remove the three screws from the belt guard using a 16mm wrench
- Lift off the belt guard
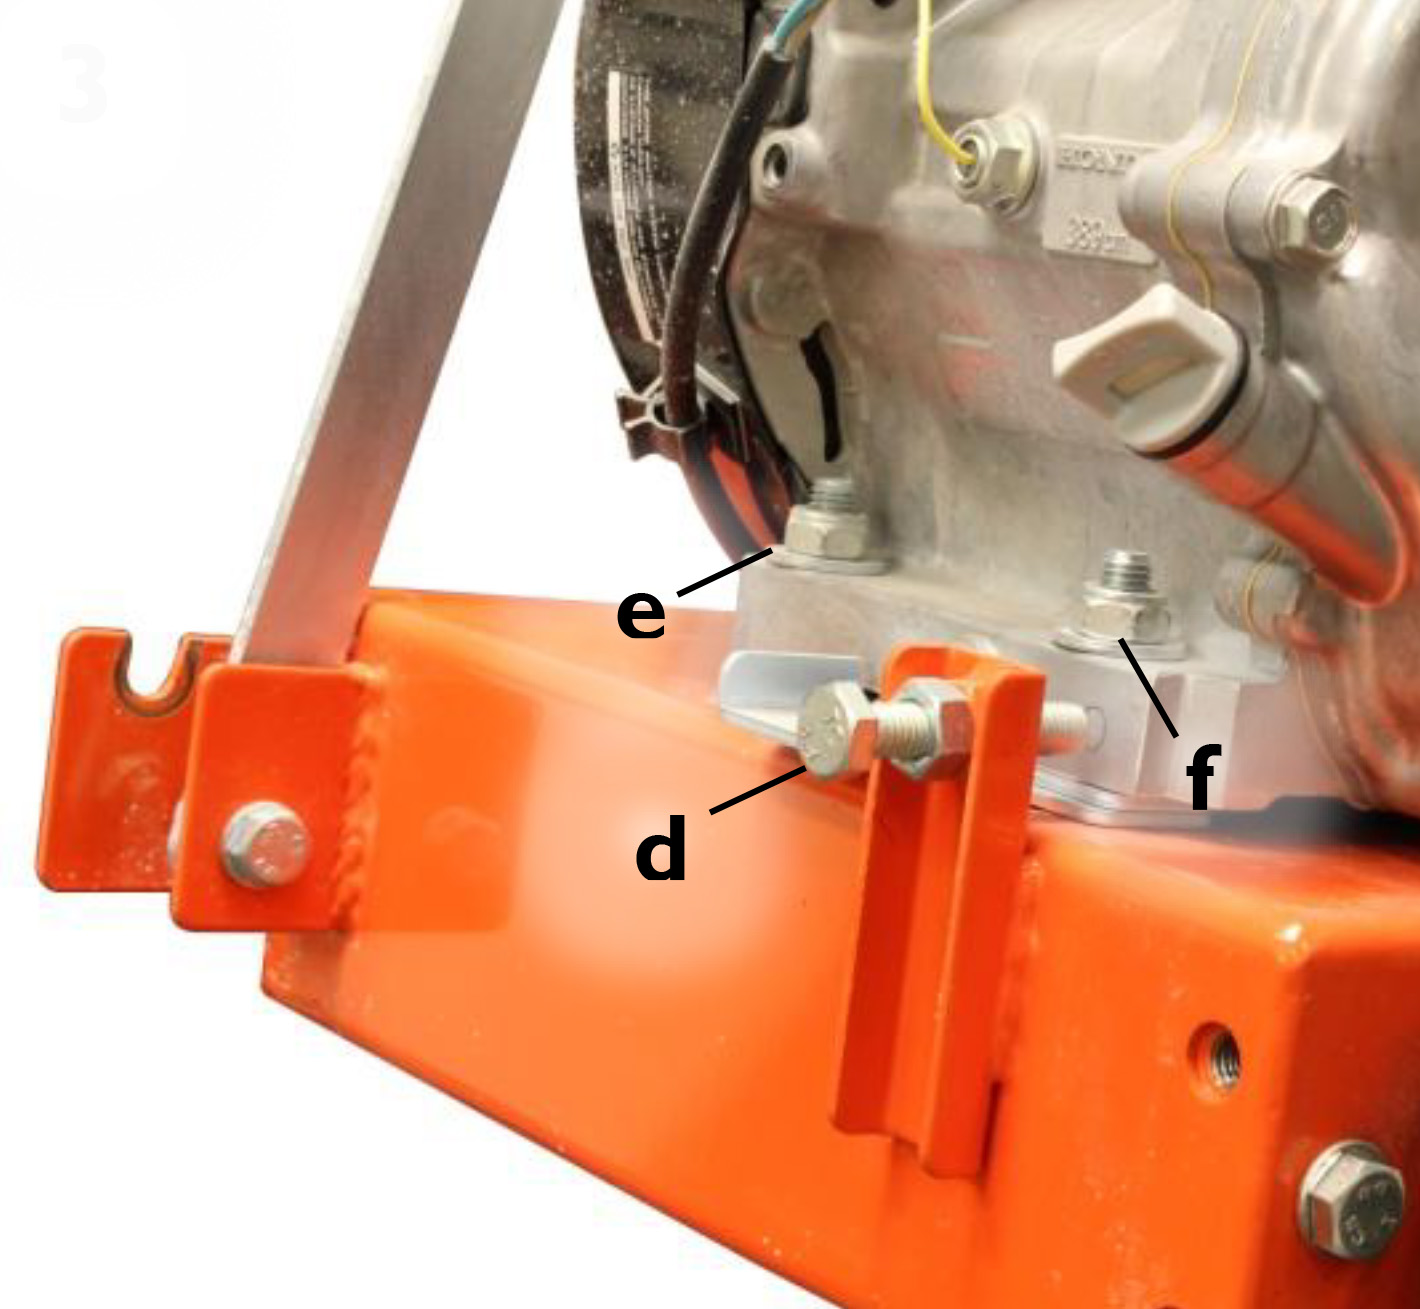
- Loosen the tension screw (D) near the base of the engine
- Lower the machine
- Loosen the four bolts (E, F) securing the engine to the frame
- Push the engine forward to loosen the belt from the pulleys
- Remove the belt
Install the New Belt
-
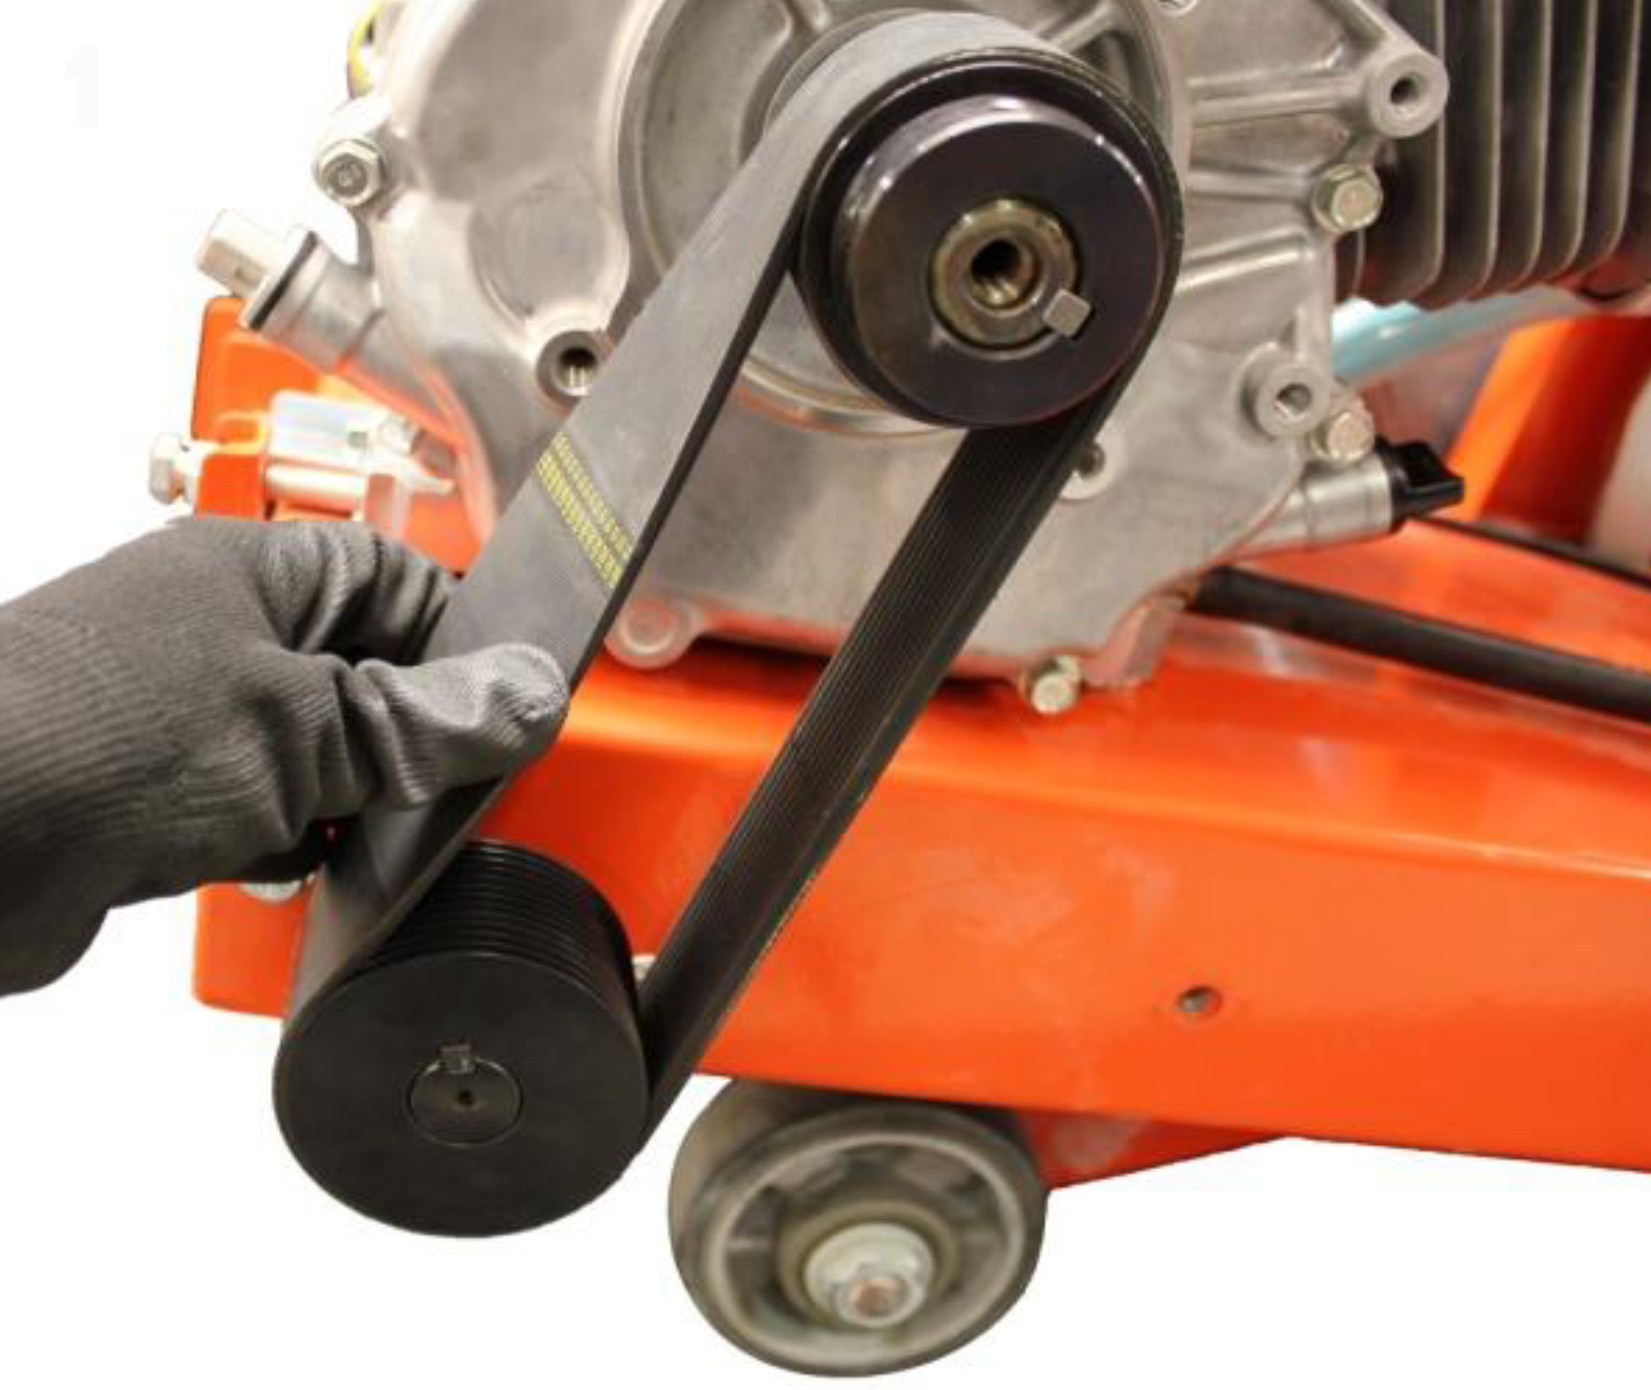
Slide the new belt onto the pulleys
- Tighten the engine bolts slightly
- Tighten the tension screw and the engine will be pushed back
- Check the tension of the belt by twisting it. If it possible to twist the belt to 45 degrees (not more, not less), the belt is properly tensioned
- Make sure both pulleys are aligned by placing a straight edge across them
- Tighten the engine bolts
- Back off the tension screw two turns and tighten the locking nut
- Put the belt guard back on
The belt part number is 588 76 85-01 and is a genuine Husqvarna part.

Author: David Schatz
David Schatz is the founder of DHS Equipment and a technical content expert in light construction equipment, small engines, and professional-grade replacement parts. With more than 30 years of hands-on experience servicing concrete saws, generators, water pumps, and plate compactors, he helps contractors, rental fleets, and serious DIY users keep their equipment running safely and efficiently.
Through practical, no-nonsense articles, step-by-step guides, and maintenance tips, David focuses on real-world troubleshooting, small engine repair, and clear recommendations on OEM and high-quality aftermarket replacement components that reduce downtime, extend equipment life, and improve job site productivity.